11/18/2017
** Note: Try this also:Uninstall your nvidia high definition audio drivers in device manager if you are not using the audio through the HDMI cable. Use your sound card audio instead and get some speakers.
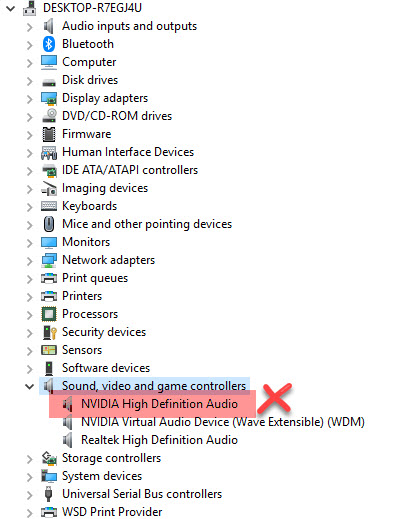
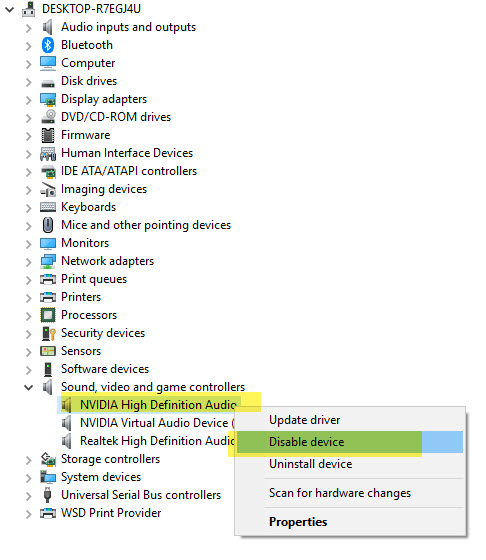
Now, if the device re-installs itself after a windows reboot, then disable the device instead like this:
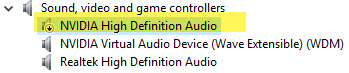
1) Right mouse click the NVIDIA High Definition Audio
2) Click Yes to disable

3) It is now disabled.
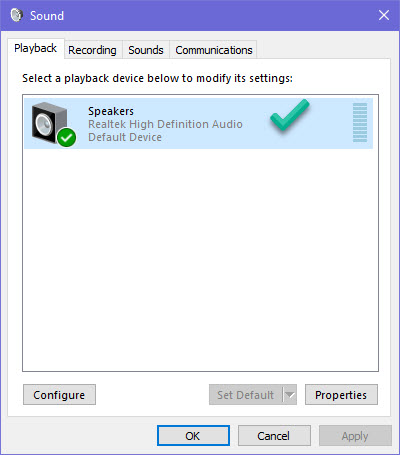
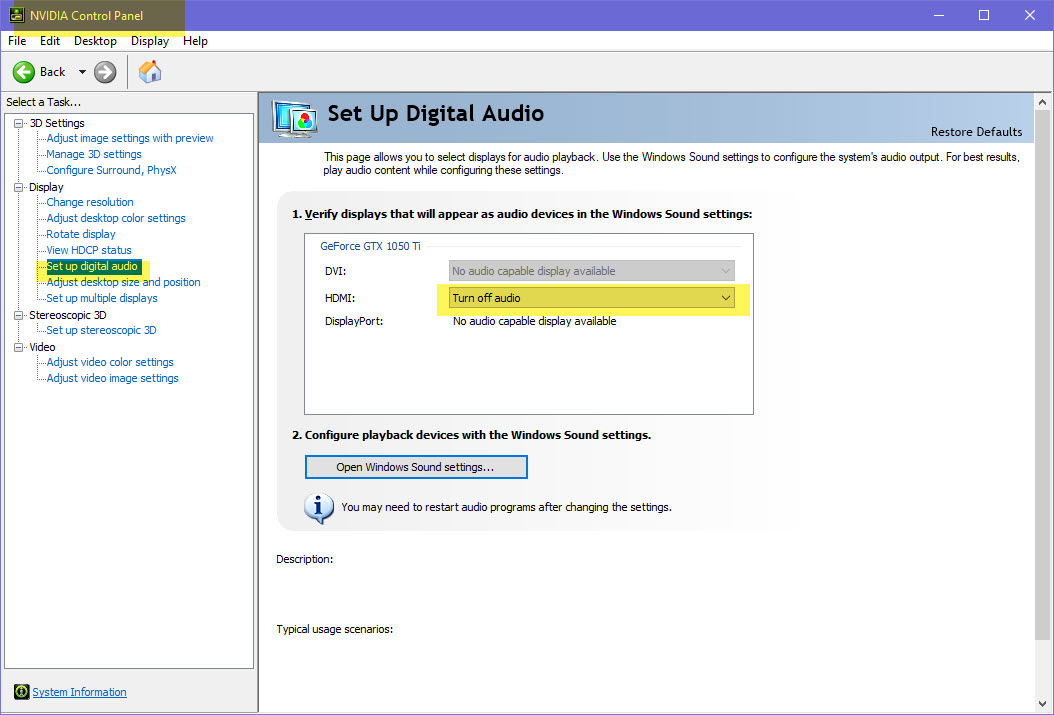
4) Bring up your NVIDIA Control Panel, under Display, click Set up digital audio, and under HDMI, turn off audio.
REBOOT
10/07/2017
** Note: Try this also: Delete the TdrDdiDelay and the TdrDelay. Add instead a QWORD (64-bit) or DWORD (23-bit) value called TdrLevel and give it the value of 0. This completely turns of Tdr checker.
ORIGINAL POST
1) Rename the nvlddmkm.sys file in your C:\Windows\System32\Drivers folder to nvlddmkm.sys.old. If the file does not exist, then skip step 1.
2) Locate your latest nvlddmkm.sy_ file on your computer using a search tool like FileSeek and copy it to your Desktop.
3) Open the nvlddmkm.sy_ using a tool like 7-Zip and extract the compressed file to your desktop which will be named nvlddmkm.sys.
4) Move the nvlddmkm.sys file from your Desktop to C:\Windows\System32\Drivers.
5) Type regedit in your windows search bar and hit enter.
6) Go to the path “Computer\HKEY_LOCAL_MACHINE\SYSTEM\CurrentControlSet\Control\GraphicsDrivers”.
7) In the right panel, right mouse click and create a new QWORD (64-bit) or DWORD (23-bit) value called TdrDdiDelay and give it the value of 8.
Note: TdrDdiDelay – Specifies the number of seconds that the operating system allows threads to leave the driver. After a specified time, the operating system bug-checks the computer with the code VIDEO_TDR_FAILURE (0x116).
8) In the right panel, right mouse click and create a new QWORD (64-bit) or DWORD (23-bit) value called TdrDelay and give it the value of 8.
Note: TdrDelay – Specifies the number of seconds that the GPU can delay the preempt request from the GPU scheduler. This is effectively the timeout threshold.
9) Reboot your computer.
10) Enter into Power Options
11) Click ‘Change Plan Settings’
12) Click ‘Change Advanced Power Settings’
13) Click the + to the left of ‘Sleep’
14) Click the + to the left of ‘Allow Hybrid Sleep’
15) Change the setting to ‘Off’